
Awesome, you are the proud owner of a MakeYourOwn Candle package. As you already may have read on the top of the packaging our slogan is as follows:
We believe that the most beautiful and valuable products are the ones created by you.
We all cherish and appreciate handcrafted products. So, we help you. Make your own!
To facilitate in making your own candle, we have created a video that can be seen below. If this video is not an option, you can also use the written instructions below.
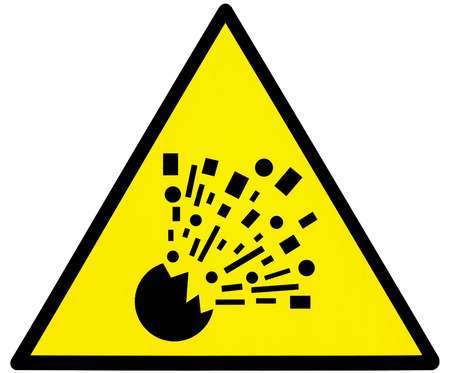
 Caution! Never ever heat the bottle of wax with their cap on it. Always remove the cap of the bottle before placing it into the water. If you don’t remove the cap, the bottle can explode because of the high temperature!